Verifying Authentic PCB Layouts and Component Integrity

Most collectors think a game is real just because it boots up on a console. They see a working cartridge and assume the internal hardware is legitimate. That's a dangerous mistake. A bootable game can still be a counterfeit, a reproduction, or a franken-cartridge—a genuine shell housing a modern, low-quality PCB (Printed Circuit Board). If you're treating your collection as an investment, you can't afford to be fooled by a fake that looks right on the outside but is hollow on the inside.
This guide covers how to look past the plastic shell and inspect the actual silicon and circuitry. We're going to look at board geometry, component placement, and the subtle tells that separate a high-quality vintage original from a cheap modern clone. Whether you're buying a high-value title like a rare NES game or just want to ensure your library isn't full of junk, knowing how to inspect a PCB is a requirement.
How do I identify a fake game board?
The first thing you need to do is get eyes on the board itself. If you aren't comfortable opening a cartridge, you're essentially flying blind. Once the shell is open, look at the color and texture of the PCB. Genuine Nintendo or Sega boards from the late 80s and early 90s have a very specific look—usually a deep green or a matte finish with very crisp, high-quality solder points. Counterfeits often use much cheaper, thinner green or even blue PCBs that look slightly translucent under a bright light.
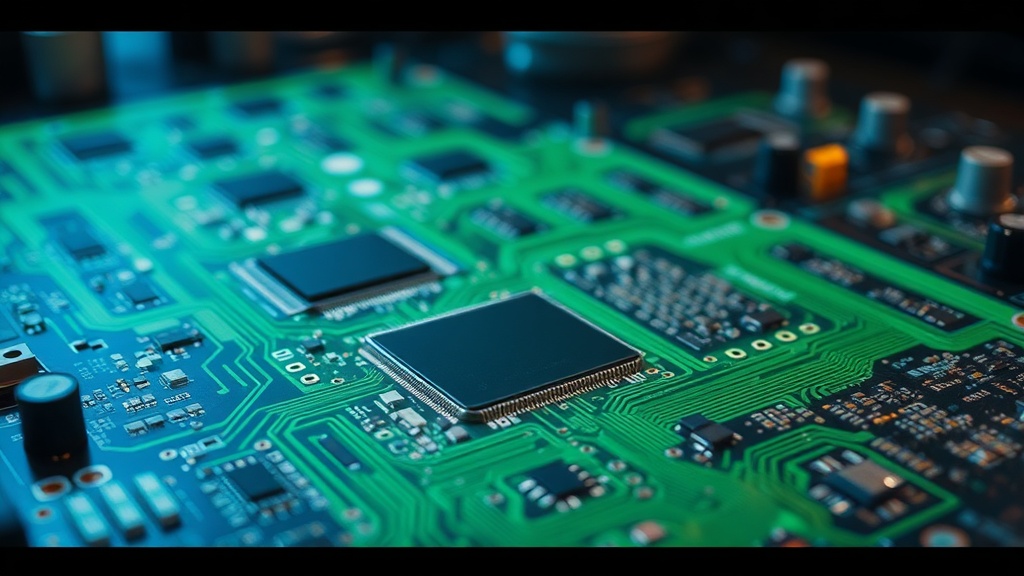
Next, look at the traces. Traces are the copper lines that carry electricity across the board. On a genuine-made-in-Japan or genuine-made-in-USA board, these lines are incredibly precise. On a reproduction, you'll often see much wider, coarser, or even uneven traces. If the paths look like they were drawn with a thick marker rather than etched with surgical precision, you're looking at a fake. Check the chip-set too. Genuine chips often have specific manufacturer markings. If you see a blank chip or a chip with a generic serial number that doesn't match the era's manufacturing standards, be suspicious.
What are the signs of a franken-cartridge?
A "franken-cartridge" is a hybrid. It might have a genuine cartridge shell and even a genuine label, but the internal board has been swapped for a newer, cheaper version—often to save money on a sale or to hide a dead battery. This is common in the high-end market where people try to pass off broken games as "working" condition.
To spot these, look for signs of tampering. Are there any mismatched solder joints? Does the board look like it was recently desoldered and put back together? Look for the "Newton's Law" of retro hardware: if it looks too clean, it's a red flag. A vintage board should show some signs of age—perhaps a slight dullness to the solder or very minor oxidation. If the board looks brand new while the shell looks twenty years old, someone has swapped the guts. You can cross-reference board revisions on sites like NES Reproduction to see what the original hardware should actually look like.
The Importance of Component Density
One of the easiest ways to spot a low-quality reproduction is by the density of the components. Original hardware was designed with highly optimized, high-density layouts. It’s a marvel of engineering. Counterfeiters, on the other hand, often use much larger, less efficient components to save on manufacturing costs. If the board looks "empty" or has massive gaps between the chips, it's a bad sign. A genuine board is a tightly packed, highly efficient piece of hardware. If it looks like a simplified version of the original, it's likely a fake.
Using a Magnifying Glass for Inspection
You can't do this with the naked eye. You need a jeweler's loupe or a high-powered magnifying glass. Under magnification, the quality of the solder becomes obvious. Real-world manufacturing in the 90s used high-quality solder that created smooth, shiny, and consistent joints. Modern, cheap-batch-produced boards often have grainy, dull, or even "blobby" solder joints. This isn't just an aesthetic issue; it affects the longevity and reliability of the hardware. If you see a messy board, don't buy it—even if the price is right.
| Feature | Genuine Vintage Board | Cheap Reproduction Board |
|---|---|---|
| PCB Color | Solid, deep green/matte | Translucent or bright green |
| Solder Joints | Smooth, consistent, shiny | Grainy, dull, or uneven |
| Trace Precision | Extremely fine and sharp | Coarse or slightly irregular |
| Component Density | High, optimized layout | Low, sparse layout |
For those who want to dive deeper into the technical specifications of certain consoles, the Digital Preservation Project offers wonderful resources on how hardware-level documentation is preserved. Studying these documents can give you a blueprint of what a perfect board should look like.
Keep in mind that a single inspection isn't a guarantee. The market is constantly evolving, and counterfeiters get better every year. However, by looking for these specific technical discrepancies—the trace width, the solder quality, and the component density—you can avoid the most common traps. Don't just trust the sticker on the front; trust the silicon on the inside. If the internal hardware doesn't match the era's engineering standards, it doesn't matter how good the box art looks—the item is a fake.